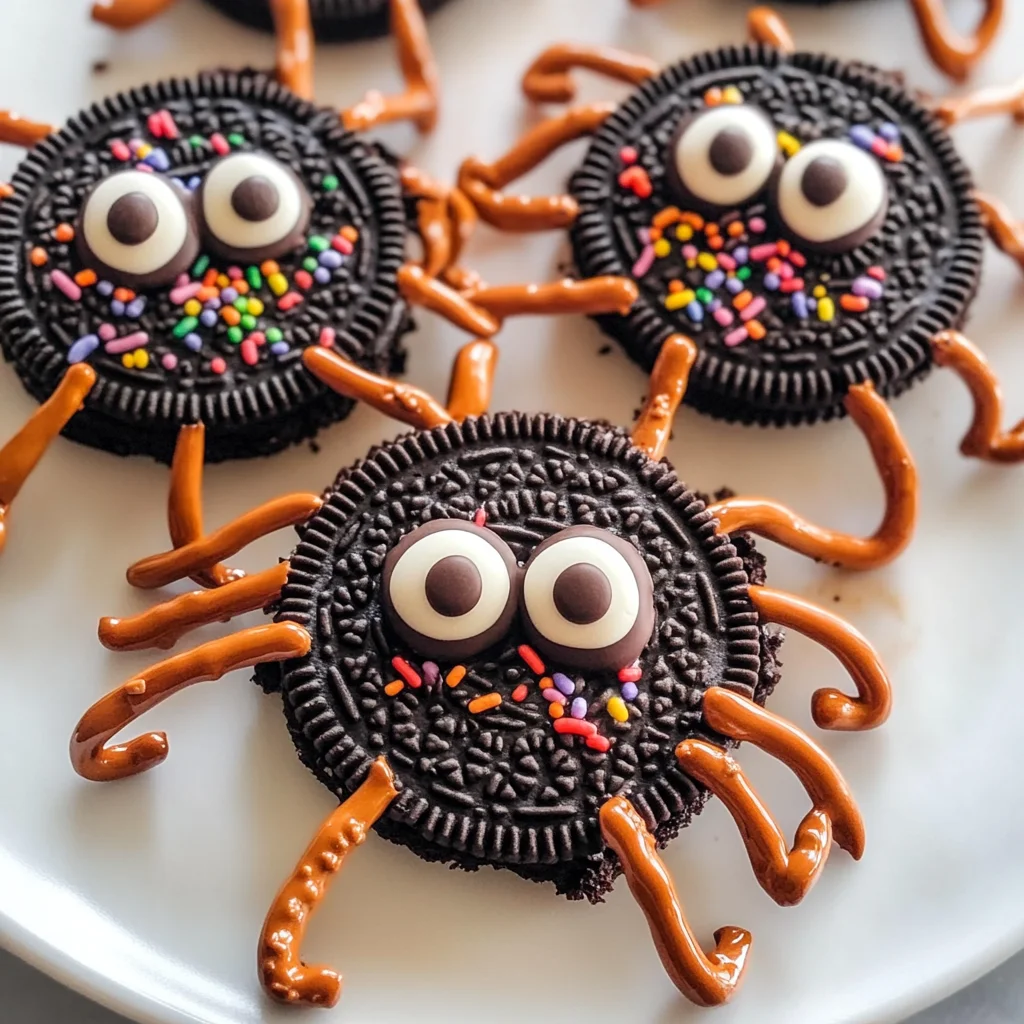
Oreo Spider Halloween Cookies
Get into the spooky spirit with these Oreo spider Halloween cookies! Perfect for Halloween parties or a fun activity to do with the kids, these cookies are both visually striking and delicious. With their cute spider design and simple preparation, they bring joy to any gathering. The combination of Oreo cookies and melted chocolate creates a sweet treat that’s hard to resist.
Why You’ll Love This Recipe
- Easy to Make: This recipe requires minimal ingredients and steps, making it perfect for bakers of all levels.
- Fun for Kids: Involve children in decorating these cookies, allowing them to unleash their creativity while celebrating Halloween.
- Versatile Treat: You can customize the decorations based on your theme—use different colors of sprinkles or candy eyes for a unique twist.
- Adorable Presentation: These spider cookies not only taste good but also look fantastic as part of your Halloween spread.
- Quick Preparation: With only 20 minutes needed from start to finish, you can whip up a batch in no time!
Tools and Preparation
Gathering the right tools makes the process smoother and more enjoyable. Here’s what you’ll need to create these delightful Oreo spider Halloween cookies.
Essential Tools and Equipment
- Microwave-safe bowl
- Spoon
- Baking sheet
- Refrigerator
Importance of Each Tool
- Microwave-safe bowl: This is essential for melting chocolate efficiently without burning it.
- Spoon: A simple tool that helps in mixing and applying melted chocolate onto the cookies.
- Baking sheet: Provides a flat surface for placing your decorated cookies before they set.
- Refrigerator: Allows the cookies to cool quickly, ensuring that the chocolate hardens properly.
Ingredients
Get into the spooky spirit with these Oreo spider Halloween cookies! Bring these to your next Halloween party or make them with the kids.
For the Chocolate Coating
- 1/2 cup chocolate chips (dairy free)
- 1 teaspoon coconut oil
For the Cookie Base
- 12 Oreo cookies (Halloween kind or double stuffed)
For the Spider Legs and Eyes
- 36 pretzel sticks
- 12 dozen small candy eyeballs
For Decoration
- 3 tablespoons sprinkles
How to Make Oreo Spider Halloween Cookies
Step 1: Melt the Chocolate
- To a small bowl, add 1/2 cup of chocolate chips and 1 teaspoon of coconut oil.
- Microwave for one minute or more until fully melted. Stir until smooth.
Step 2: Prepare the Oreos
- Break 3 pretzel sticks in half for each cookie.
- Twist each Oreo to remove the top wafer (the blank side).
- Press three pretzel sticks into the cream side of each Oreo.
- Pour 1/2 teaspoon of melted chocolate on top of the pretzel legs.
- Press the ‘blank’ Oreo wafer back on top of the pretzel legs.
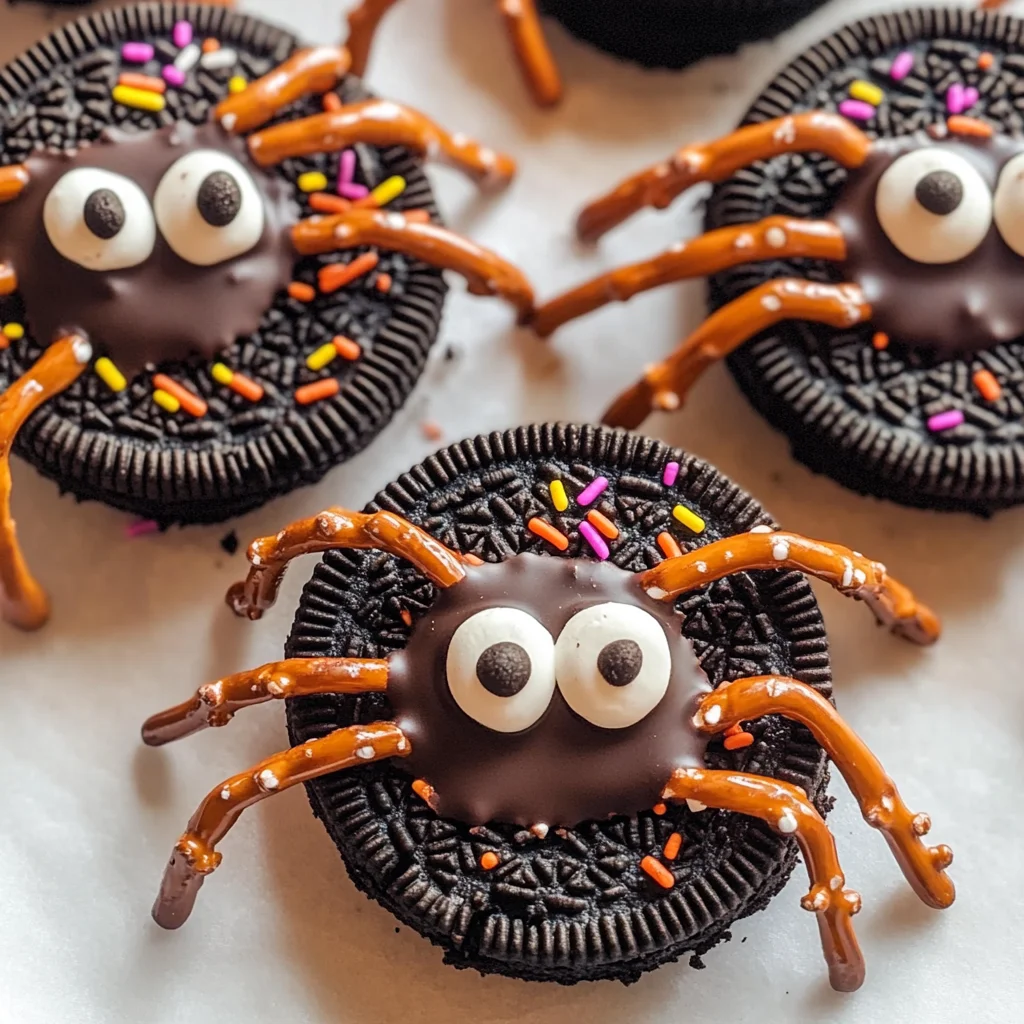
Step 3: Decorate Your Cookies
- Dip one side of each cookie into the melted chocolate.
- Place a couple of candy eyes on top while the chocolate is still wet.
- Add sprinkles for an extra festive touch.
Step 4: Chill and Enjoy!
- Put the decorated cookies in the refrigerator for at least 10 minutes to allow the chocolate to harden.
- Once set, enjoy your fun and spooky Oreo spider Halloween cookies!
How to Serve Oreo Spider Halloween Cookies
These fun and spooky Oreo spider Halloween cookies are perfect for any festive gathering. Here are some creative ways to serve them that will delight your guests.
On a Halloween-Themed Platter
- Arrange the cookies on a spooky platter decorated with fake cobwebs and plastic spiders for an eye-catching centerpiece.
With Milk or Dairy-Free Alternatives
- Serve these cookies with a glass of cold milk or a dairy-free option like almond or oat milk. The pairing enhances the chocolate flavors.
As Party Favors
- Package individual cookies in clear bags tied with orange and black ribbons. They make great treats for guests to take home.
At a Cookie Decorating Station
- Set up a station where kids can decorate their own cookies with extra sprinkles and candy eyes. This adds an interactive element to your party.
How to Perfect Oreo Spider Halloween Cookies
These tips will help you create the most delightful Oreo spider Halloween cookies.
- Use high-quality chocolate chips: Opt for dairy-free chocolate chips for better melting and smoother dipping.
- Ensure the chocolate is melted properly: Microwave in short intervals to avoid burning, stirring after each interval.
- Choose fresh Oreos: Fresh cookies hold together better and provide a crisp texture that pairs well with melted chocolate.
- Experiment with different toppings: Try adding colored sprinkles or edible glitter for extra flair.
- Keep them cool before serving: Refrigerate the cookies until you’re ready to serve so they stay firm and maintain their shape.
Best Side Dishes for Oreo Spider Halloween Cookies
Complement your spooky treats with these delicious side dishes that are perfect for Halloween gatherings.
- Pumpkin Soup: A warm, creamy soup made from roasted pumpkins, perfect for fall gatherings.
- Cheesy Garlic Breadsticks: Soft breadsticks topped with garlic butter and cheese, ideal for dipping into sauces.
- Vegetable Platter: A colorful array of fresh vegetables served with hummus or ranch dressing, offering a healthy contrast.
- Spooky Fruit Salad: Mix seasonal fruits like oranges, apples, and grapes; add ghost-shaped marshmallows on top.
- Mini Pumpkin Pies: Bite-sized desserts featuring spiced pumpkin filling in flaky pastry shells, great for satisfying sweet cravings.
- Candy Corn Popcorn Mix: A sweet and salty mix of popcorn tossed with candy corn, making it a fun snack option at your party.
- Stuffed Mini Bell Peppers: Filled with cream cheese or vegan cheese spread, these colorful bites add crunch and flavor.
- Ghostly Deviled Eggs: Traditional deviled eggs decorated with olive slices as “eyes” to give them a spooky look.
Common Mistakes to Avoid
When making Oreo spider Halloween cookies, it’s important to avoid common pitfalls to ensure your treats turn out perfect.
- Bold Ingredient Choices: Not using dairy-free chocolate can lead to less enjoyable cookies for those with dietary preferences. Always check labels for dairy-free options.
- Bold Overheating Chocolate: Microwaving chocolate for too long can cause it to seize. Heat in short intervals and stir until smooth.
- Bold Skipping Cooling Time: If you don’t let the cookies cool properly, the chocolate won’t set, which can make a mess. Allow at least 10 minutes in the fridge for hardening.
- Bold Misplacing Candy Eyes: Forgetting to place candy eyes while the chocolate is still wet can result in them not sticking. Ensure you add them immediately after dipping in chocolate.
- Bold Ignoring Cookie Types: Using regular Oreos instead of Halloween-themed ones can lessen the festive appeal. Opt for seasonal varieties to enhance visual appeal.
Storage & Reheating Instructions
Refrigerator Storage
- Store cookies in an airtight container.
- They will last up to 5 days in the fridge.
Freezing Oreo Spider Halloween Cookies
- Place cookies in a single layer on a baking sheet before freezing.
- Once frozen, transfer them to a freezer-safe container and they will keep well for up to 3 months.
Reheating Oreo Spider Halloween Cookies
- Oven: Preheat the oven to 300°F (150°C) and warm cookies for about 5-7 minutes.
- Microwave: Heat individual cookies for about 10-15 seconds until slightly warm.
- Stovetop: Use a skillet on low heat; warm each cookie briefly until just softened.
Frequently Asked Questions
If you have questions about making Oreo spider Halloween cookies, read on!
How do I make Oreo Spider Halloween Cookies without dairy?
You can easily substitute dairy ingredients with dairy-free alternatives like coconut oil and dairy-free chocolate chips.
Can I customize my Oreo Spider Halloween Cookies?
Absolutely! You can add different toppings like nuts, or use various sprinkles to personalize your cookies.
How long does it take to prepare Oreo Spider Halloween Cookies?
The total time for preparation is around 20 minutes, making it a quick treat for any occasion.
What are some fun variations of these cookies?
Try using different flavors of Oreos or adding flavored extracts like almond or vanilla into your melted chocolate for extra taste.
Final Thoughts
Oreo spider Halloween cookies are not only adorable but also incredibly simple to make. Their festive look makes them perfect for parties or family gatherings. Feel free to get creative by customizing decorations or experimenting with different cookie flavors. Enjoy making these spooky delights!
Oreo Spider Halloween Cookies
Get into the Halloween spirit with these adorable Oreo Spider Halloween Cookies! Fun to make and even more delightful to eat, these cookies are perfect for festive gatherings or a creative activity with kids. The combination of classic Oreo cookies, smooth melted dairy-free chocolate, and whimsical candy decorations creates a treat that’s both visually striking and irresistibly delicious. With just a handful of ingredients and quick preparation time, you can whip up these spooky delights in no time. So grab your favorite sprinkles and candy eyeballs, and get ready to impress your guests with these charming treats!
- Prep Time: 10 minutes
- Cook Time: 10 minutes
- Total Time: 20 minutes
- Yield: Makes approximately 12 cookies 1x
- Category: Dessert
- Method: Baking
- Cuisine: American
Ingredients
- 1/2 cup chocolate chips (dairy-free)
- 1 teaspoon coconut oil
- 12 Oreo cookies (Halloween-themed or double stuffed)
- 36 pretzel sticks
- 12 dozen small candy eyeballs
- 3 tablespoons sprinkles
Instructions
- Melt the chocolate: In a microwave-safe bowl, combine chocolate chips and coconut oil. Microwave for one minute, stirring until smooth.
- Prepare the Oreos: Break each pretzel stick in half. Twist apart Oreos and insert three pretzel halves into the cream side of each cookie. Drizzle melted chocolate over the pretzels and reassemble the Oreos.
- Decorate: Dip one side of each cookie into the melted chocolate, add candy eyes while wet, and sprinkle with colorful decorations.
- Chill: Place cookies in the refrigerator for at least 10 minutes to let the chocolate harden.
Nutrition
- Serving Size: 1 cookie
- Calories: 150
- Sugar: 10g
- Sodium: 60mg
- Fat: 7g
- Saturated Fat: 4g
- Unsaturated Fat: 2g
- Trans Fat: 0g
- Carbohydrates: 22g
- Fiber: 1g
- Protein: 1g
- Cholesterol: 0mg