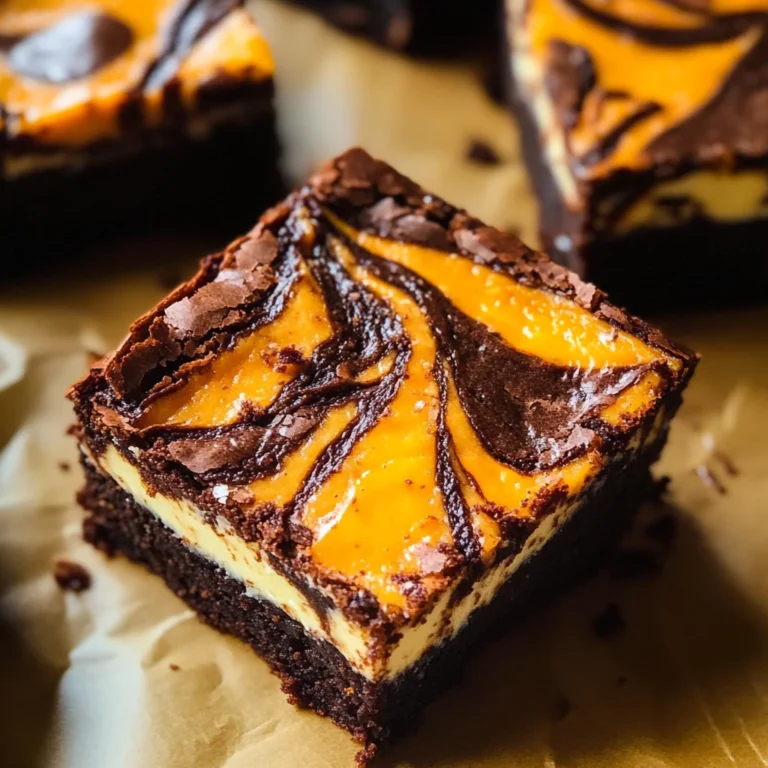
Spooky Halloween Marble Cake
This Spooky Halloween Marble Cake is a showstopper for your Halloween festivities! Its striking red and black marbling, combined with dripping red blood icing, makes it a unique centerpiece. Perfect for parties, this cake is not only visually appealing but also delights the taste buds with rich flavors. Get ready to impress your guests with this festive treat!
Why You’ll Love This Recipe
- Eye-Catching Presentation: The bold red and black colors create a dramatic effect that is sure to grab attention.
- Delicious Flavor: A delightful combination of chocolate and vanilla ensures every bite is flavorful.
- Fun for All Ages: Kids and adults alike will enjoy the spooky theme, making it perfect for family gatherings or costume parties.
- Easy to Customize: Feel free to add your favorite spooky decorations or themed sprinkles to match your party’s vibe.
Tools and Preparation
Preparing your Spooky Halloween Marble Cake requires some essential tools. Having the right equipment will make the baking process smoother and more enjoyable.
Essential Tools and Equipment
- Mixing bowls
- Electric mixer
- Measuring cups and spoons
- Rubber spatula
- Piping bags (for decoration)
- Baking pans
Importance of Each Tool
- Electric mixer: Saves time and effort when creaming butter and sugar or whipping up batter.
- Piping bags: Ideal for precise decoration of the cake, allowing you to create drippy effects easily.
Ingredients
To craft this delicious Spooky Halloween Marble Cake, gather the following ingredients:
For the Cake
- 2 1/4 cups (293g) all purpose flour
- 2 1/2 tsp baking powder
- 1/4 tsp baking soda
- 1/2 tsp salt
- 1/2 cup (112g) unsalted butter, room temperature
- 1/2 cup vegetable oil
- 1 1/2 cups (310g) sugar
- 1 tbsp vanilla extract
- 4 large eggs
- 1 cup (240ml) buttermilk
- 5 oz bittersweet chocolate (60% cacao), chopped
For the Icing
- Black gel icing color
- Red gel icing color
- 2 1/4 cups (504g) unsalted butter
- 8 cups (920g) powdered sugar
- 1 cup (114g) natural unsweetened cocoa powder
- 2 tsp vanilla extract
- 5-7 tbsp (75-105ml) water/cream
- 1/4 tsp salt
For Decoration
- Black gel icing color
- 4 oz red Wilton candy melts
- 2 tbsp heavy whipping cream
- Sprinkles (see notes)
How to Make Spooky Halloween Marble Cake
Step 1: Preheat the Oven
Preheat your oven to 350°F (175°C). Prepare your baking pans by greasing them lightly and dusting with flour.
Step 2: Prepare the Batter
In a large mixing bowl:
1. Combine flour, baking powder, baking soda, and salt.
2. In another bowl, cream together butter, vegetable oil, and sugar until light.
3. Add vanilla extract and eggs one by one, mixing well after each addition.
4. Gradually mix in the dry ingredient mixture alternating with buttermilk.
Step 3: Create Marble Effect
Divide the batter into two bowls:
* In one bowl, mix in melted bittersweet chocolate until fully combined.
* In another bowl, add black gel icing color until desired darkness is achieved.
Step 4: Layer the Batter
Spoon alternating dollops of both batters into prepared pans. Use a knife to swirl them together gently for a marbled effect.
Step 5: Bake the Cakes
Bake in preheated oven for about 20 minutes or until a toothpick comes out clean from the center. Let cool completely before decorating.
Step 6: Prepare Icing
In a large mixing bowl:
1. Beat unsalted butter until creamy.
2. Gradually add powdered sugar and cocoa powder while mixing on low speed.
3. Add vanilla extract and enough water or cream to achieve desired consistency.
Step 7: Decorate Your Cake
Once cooled:
1. Frost each layer with chocolate icing.
2. Melt red candy melts with heavy cream for blood drizzle on top.
3. Use piping bags filled with colored icing to create spooky decorations like bones or eyeballs.
Enjoy serving this festive Spooky Halloween Marble Cake at your next gathering!
How to Serve Spooky Halloween Marble Cake
This Spooky Halloween Marble Cake is perfect for Halloween gatherings. Its striking red and black design makes it a showstopper at any party. Here are some fun serving suggestions to elevate your cake experience.
Gory Slice Presentation
- Serve each slice on a spooky-themed plate for an eerie effect.
- Drizzle extra blood (red icing) over the top for added flair.
Pair with Creepy Beverages
- Offer dark beverages like black cherry soda or pomegranate juice to complement the cake’s colors.
- Create a mocktail using fruit juices and serve in test tubes for a fun twist.
Include Festive Decorations
- Garnish plates with gummy eyeballs or plastic bones for a fun presentation.
- Use edible glitter or sprinkles to make the cake sparkle under dim lighting.
Create a Dessert Table
- Set up a spooky dessert table featuring other Halloween treats alongside your marble cake.
- Use themed decor, such as cobwebs or mini pumpkins, to enhance the spooky vibe.
How to Perfect Spooky Halloween Marble Cake
Perfecting your Spooky Halloween Marble Cake can take your baking to the next level. Here are some tips to ensure it turns out beautifully.
- Use Room Temperature Ingredients: Ensuring that your butter and eggs are at room temperature helps create a smooth batter that mixes evenly.
- Measure Flour Correctly: Spoon flour into your measuring cup and level it off with a knife to avoid packing, which can lead to dense cake.
- Check Oven Temperature: Always preheat your oven and consider using an oven thermometer for accuracy, as oven temperatures can vary widely.
- Cool Layers Completely: Let the cake layers cool completely before frosting; this prevents melted frosting and maintains the cake’s shape.
- Swirl Colors Carefully: When marbling, use a skewer or knife gently through the batter to create beautiful swirls without overmixing.
Best Side Dishes for Spooky Halloween Marble Cake
Pairing side dishes with your Spooky Halloween Marble Cake can enhance the overall experience. Here are some great options to consider.
- Witch’s Brew Soup: A green vegetable soup served with eerie floating eyeball meatballs made from turkey.
- Ghostly Salad: A salad made of mixed greens topped with ghost-shaped cheese cutouts and drizzled with balsamic glaze.
- Monster Fruit Platter: A colorful assortment of fruits arranged in spooky shapes like ghosts or monsters, complemented by yogurt dip.
- Mummy Dogs: Turkey hot dogs wrapped in crescent roll dough, baked until golden, resembling mummies when served with mustard eyes.
- Pumpkin Hummus: A creamy pumpkin hummus served with black pita chips for a festive touch.
- Spooky Deviled Eggs: Classic deviled eggs dyed green and decorated with olive slices to resemble creepy creatures.
Common Mistakes to Avoid
Making a Spooky Halloween Marble Cake can be fun, but there are some common pitfalls to avoid for the best results.
- Bold Color Choices: Using too much gel coloring can affect the cake’s texture. Start with a small amount and gradually add more until you achieve your desired hue.
- Incorrect Baking Time: Overbaking can lead to a dry cake. Always check for doneness a few minutes before the suggested time by inserting a toothpick in the center.
- Under-mixing Batter: Failing to mix the batter thoroughly can result in uneven marble patterns. Ensure all ingredients are well combined without overmixing.
- Skipping Ingredient Temperature: Using cold eggs or butter can cause a dense cake. Make sure all ingredients are at room temperature before mixing.
- Poor Storage Practices: Not storing the cake properly can lead to dryness. Use airtight containers or wrap it well to keep it fresh.
Storage & Reheating Instructions
Refrigerator Storage
- Store your Spooky Halloween Marble Cake in an airtight container.
- It will last for about 4-5 days in the refrigerator.
Freezing Spooky Halloween Marble Cake
- Wrap individual slices tightly in plastic wrap, then place them in a freezer-safe bag.
- The cake can be frozen for up to 3 months.
Reheating Spooky Halloween Marble Cake
- Oven: Preheat your oven to 350°F (175°C). Place the slice on a baking sheet and warm for about 10-15 minutes.
- Microwave: Heat for 10-15 seconds at a time, checking frequently until warmed through.
- Stovetop: Use a skillet on low heat, covering it with a lid for about 5 minutes until warmed.
Frequently Asked Questions
If you have questions about making this cake, you’re not alone! Here are some common queries.
What makes the Spooky Halloween Marble Cake spooky?
The unique color combination of red and black along with creepy decorations like bloody sprinkles gives this cake its spooky charm.
Can I customize my Spooky Halloween Marble Cake?
Absolutely! You can swap out colors or add different sprinkles to match your theme or preference.
How do I achieve perfect marbling in my cake?
To achieve perfect marbling, pour alternating spoonfuls of batters into the pan and use a knife or skewer to swirl gently without overmixing.
Is there an alternative to buttermilk?
Yes! You can substitute buttermilk with a mixture of regular milk and vinegar or lemon juice. Just let it sit for about 5-10 minutes before using.
How do I store leftover cake?
Store leftover Spooky Halloween Marble Cake in an airtight container at room temperature for up to two days or refrigerate it for longer freshness.
Final Thoughts
The Spooky Halloween Marble Cake is not only visually striking but also deliciously moist. Its versatility allows you to customize colors and decorations to suit any gathering. Give this recipe a try at your next Halloween party!
Spooky Halloween Marble Cake
Get ready to enchant your guests with this Spooky Halloween Marble Cake, a delightful dessert that combines striking red and black marbling with rich chocolate and vanilla flavors. This cake is perfect for Halloween parties, standing out as a true centerpiece with its eerie dripping “blood” icing. Not only does it look impressive, but it also tastes incredible, ensuring it will be a hit among both kids and adults. With its customizable decorations, you can create a unique treat that matches the themes of your festivities. Dive into this fun baking adventure and make your Halloween celebrations truly memorable!
- Prep Time: 30 minutes
- Cook Time: 20 minutes
- Total Time: 50 minutes
- Yield: Approximately 12 servings 1x
- Category: Dessert
- Method: Baking
- Cuisine: American
Ingredients
- 2 1/4 cups (293g) all purpose flour
- 2 1/2 tsp baking powder
- 1/4 tsp baking soda
- 1/2 tsp salt
- 1/2 cup (112g) unsalted butter, room temperature
- 1/2 cup vegetable oil
- 1 1/2 cups (310g) sugar
- 1 tbsp vanilla extract
- 4 large eggs
- 1 cup (240ml) buttermilk
- 5 oz bittersweet chocolate (60% cacao), chopped
- Black gel icing color
- Red gel icing color
- 2 1/4 cups (504g) unsalted butter
- 8 cups (920g) powdered sugar
- 1 cup (114g) natural unsweetened cocoa powder
- 2 tsp vanilla extract
- 5–7 tbsp (75-105ml) water/cream
- 1/4 tsp salt
- 4 oz red Wilton candy melts
- 2 tbsp heavy whipping cream
- Sprinkles (see notes)
Instructions
- Preheat the oven to 350°F (175°C) and prepare your baking pans by greasing them lightly and dusting with flour.
- In a large bowl, combine flour, baking powder, baking soda, and salt. In another bowl, cream together butter, vegetable oil, and sugar until light. Add vanilla extract and eggs one at a time, mixing well after each addition. Gradually mix in the dry ingredients alternating with buttermilk.
- Divide the batter into two bowls; mix melted bittersweet chocolate into one bowl and black gel icing color into the other.
- Spoon alternating dollops of batters into prepared pans and swirl gently with a knife for marbling.
- Bake for about 20 minutes or until a toothpick inserted comes out clean. Let cool completely before decorating.
Nutrition
- Serving Size: 1 serving
- Calories: 320
- Sugar: 35g
- Sodium: 180mg
- Fat: 14g
- Saturated Fat: 8g
- Unsaturated Fat: 4g
- Trans Fat: 0g
- Carbohydrates: 48g
- Fiber: 1g
- Protein: 4g
- Cholesterol: 60mg

